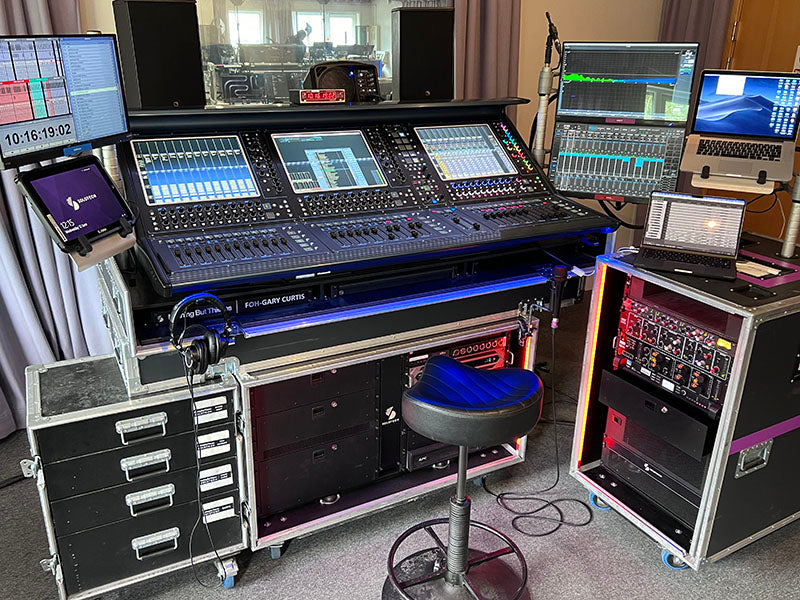
Can LILY P4D be connected directly to mixing consoles?
The LILY P4D ducking system is built to be a stand alone, in-line, noise reduction, ducking tool without any other equipment needed. Some artists and engineers have asked us "Can we connect the Lily Pad to a GPI Port on our mixing console" and the simple answer is YES! Maybe you are asking yourself, "What is a GPI Port"?
A GPI port, or General Purpose Interface port, is commonly used in various electronic and broadcast equipment for communication and control. It allows devices to send and receive signals, enabling functions like triggering events, synchronizing equipment, or sending status updates. GPI ports are typically found in audio mixing consoles, video switchers, automation systems, and production equipment, and they can be used for both input and output signals.
For instance, DiGiCo SD and Quantum consoles provide users with the following:
The wiring for a DiGiCo GPI connection typically involves a DB25 connector, where specific pins are assigned for different functions. Here’s a general outline:
DB25 GPI Connection Pinout
- Pin 1: GPI 1 In
- Pin 2: GPI 1 Out
- Pin 3: GPI 2 In
- Pin 4: GPI 2 Out
- Pin 5: GPI 3 In
- Pin 6: GPI 3 Out
- Pin 7: GPI 4 In
- Pin 8: GPI 4 Out
- Pin 9: GPI 5 In
- Pin 10: GPI 5 Out
- Pin 11: GPI 6 In
- Pin 12: GPI 6 Out
- Pin 13: Ground
Avid S6L GPI wiring connects in a similar manner:
Avid S6L GPI DB25 Pinout
- Pin 1: GPI 1 In
- Pin 2: GPI 1 Out
- Pin 3: GPI 2 In
- Pin 4: GPI 2 Out
- Pin 5: GPI 3 In
- Pin 6: GPI 3 Out
- Pin 7: GPI 4 In
- Pin 8: GPI 4 Out
- Pin 9: GPI 5 In
- Pin 10: GPI 5 Out
- Pin 11: GPI 6 In
- Pin 12: GPI 6 Out
- Pin 13: Ground
- Pin 14: +5V (optional, depending on the setup)
Wiring Instructions
- Use Shielded Cable: To minimize interference.
- Follow the Pinout: Make connections according to the pin assignments above.
- Ensure Proper Grounding: This helps avoid noise issues.
Additional Tips
- Refer to the S6L Manual: Always check the specific Avid S6L documentation for detailed wiring and configuration, as variations may exist based on firmware or updates.
- Compatibility: Ensure any connected devices are compatible with the GPI voltage levels used by the S6L.
And Yamaha provides the same pinout:
Yamaha Rivage GPI DB25 Pinout
- Pin 1: GPI 1 In
- Pin 2: GPI 1 Out
- Pin 3: GPI 2 In
- Pin 4: GPI 2 Out
- Pin 5: GPI 3 In
- Pin 6: GPI 3 Out
- Pin 7: GPI 4 In
- Pin 8: GPI 4 Out
- Pin 9: GPI 5 In
- Pin 10: GPI 5 Out
- Pin 11: GPI 6 In
- Pin 12: GPI 6 Out
- Pin 13: Ground
- Pin 14: +5V (optional, depending on the setup)
Wiring Instructions
- Use Shielded Cable: This helps reduce interference.
- Follow the Pinout: Connect according to the pin assignments provided.
- Ensure Proper Grounding: Proper grounding is crucial to avoid noise issues.
Important Considerations
- Consult the Rivage Manual: Always refer to the specific Yamaha Rivage documentation for the exact wiring and configurations, as details may vary between different models or firmware versions.
- Device Compatibility: Ensure any connected devices match the signal levels used by the Rivage console.
In order to use your LILY P4D with above consoles, users must determine their pin assignments to match your console's wiring scheme and match those pin assignments to the appropriate wiring within LILY P4D. We have built numerous custom GPI systems for bands and are happy to help you develop the control system of your choice.
If this is something you want to try, please email us at support@LilyP4D.com or click here to speak with one of our engineers.


